

How to attach outdoor wall panels to a brick wall?
Nov 14, 2025
Leave a message
Attaching outdoor wall panels to a brick wall can significantly enhance the aesthetic appeal and functionality of your exterior space. As a leading wall panel outdoor supplier, I'm excited to share a comprehensive guide on how to achieve this task successfully. In this blog, I'll walk you through the step-by-step process, from preparation to the final installation, ensuring that you have all the knowledge you need to transform your brick wall with high-quality wall panels.
Step 1: Planning and Preparation
Before you start attaching the outdoor wall panels, it's crucial to plan the project carefully. Begin by measuring the area of the brick wall where you intend to install the panels. This will help you determine the number of panels you need to purchase. Make sure to account for any windows, doors, or other obstacles on the wall.
Next, choose the right type of outdoor wall panels for your project. At our company, we offer a wide range of WPC Exterior Wall Panel options that are durable, weather-resistant, and aesthetically pleasing. These panels are made from wood-plastic composite (WPC), which combines the natural beauty of wood with the strength and durability of plastic. They are also easy to install and maintain, making them an ideal choice for outdoor applications.
Once you have selected the panels, gather all the necessary tools and materials. You will need a tape measure, a level, a drill, screws, a saw, a caulking gun, and a ladder. Make sure to wear appropriate safety gear, such as gloves and safety glasses, during the installation process.
Step 2: Preparing the Brick Wall
The next step is to prepare the brick wall for the installation of the outdoor wall panels. Start by cleaning the wall thoroughly to remove any dirt, dust, or debris. You can use a pressure washer or a stiff brush to clean the wall. Make sure to let the wall dry completely before proceeding with the installation.
After cleaning the wall, inspect it for any cracks, holes, or other damage. If you find any issues, repair them using a suitable filler or patching compound. Allow the filler to dry completely before moving on to the next step.
Step 3: Installing the Furring Strips
Furring strips are thin strips of wood or metal that are used to create a level surface for the installation of the outdoor wall panels. They also provide ventilation behind the panels, which helps prevent moisture buildup and mold growth.
To install the furring strips, start by marking the location of the strips on the brick wall using a level and a pencil. The strips should be installed vertically, spaced evenly apart. The spacing between the strips will depend on the size and weight of the panels you are using. As a general rule, the strips should be spaced no more than 16 inches apart.
Once you have marked the location of the strips, drill holes into the brick wall at the marked locations using a masonry drill bit. Insert wall plugs into the holes to provide a secure anchor for the screws. Then, attach the furring strips to the wall using screws and a drill. Make sure the strips are level and plumb before tightening the screws.
Step 4: Cutting the Wall Panels
Before installing the outdoor wall panels, you will need to cut them to the appropriate size. Use a saw to cut the panels to the desired length and width. Make sure to measure twice and cut once to ensure accurate cuts.
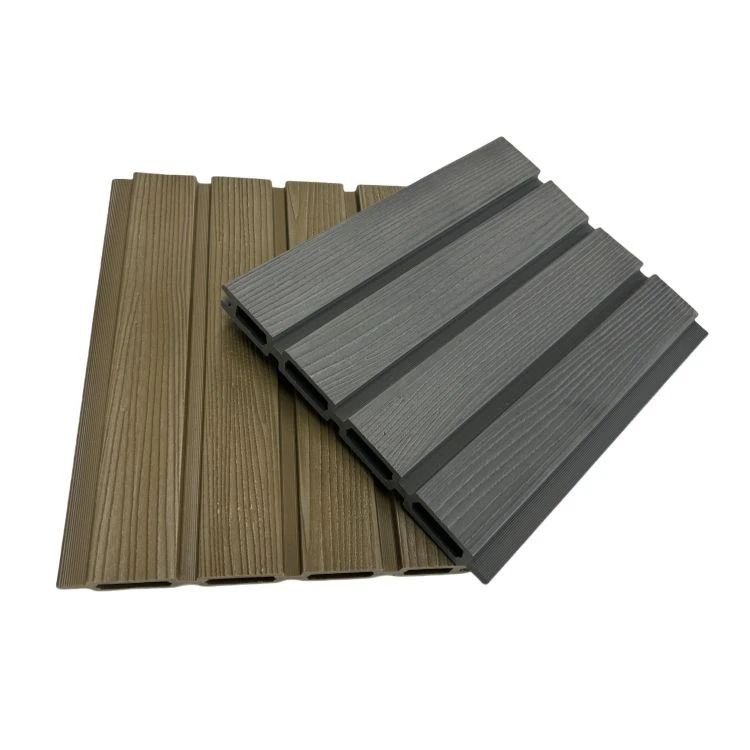

When cutting the panels, it's important to use a sharp blade to prevent chipping or splintering. You can also use a miter saw to make angled cuts for corners and edges. If you need to make curved cuts, you can use a jigsaw.
Step 5: Installing the Wall Panels
Once the furring strips are installed and the panels are cut to size, it's time to start installing the outdoor wall panels. Start at the bottom of the wall and work your way up. Begin by positioning the first panel against the furring strips and aligning it with the edge of the wall. Use a level to make sure the panel is straight and plumb.
Once the panel is in place, secure it to the furring strips using screws. Make sure to drive the screws into the center of the furring strips to ensure a secure attachment. Continue installing the panels in this manner, overlapping the edges of the panels as needed. Use a caulking gun to apply a bead of caulk along the edges of the panels to seal the joints and prevent water from seeping behind the panels.
Step 6: Finishing Touches
After all the panels are installed, it's time to add the finishing touches. Use a saw to trim any excess panel material from the edges of the wall. Then, use a caulking gun to apply a bead of caulk around the perimeter of the wall to seal the edges and prevent water from seeping behind the panels.
Finally, clean the panels with a mild detergent and water to remove any dirt or debris. You can also apply a protective coating to the panels to enhance their durability and resistance to the elements.
Conclusion
Attaching outdoor wall panels to a brick wall is a relatively simple process that can significantly enhance the appearance and functionality of your exterior space. By following the steps outlined in this guide, you can ensure a successful installation and enjoy the benefits of your new wall panels for years to come.
If you have any questions or need further assistance with your outdoor wall panel installation, please don't hesitate to contact us. As a trusted Outdoor WPC Wall Panel supplier, we are committed to providing our customers with high-quality products and exceptional customer service. We look forward to helping you transform your outdoor space with our Exterior WPC Wall Panel solutions.
References
- "Outdoor Wall Panel Installation Guide." [Company Name], [Year].
- "Wood-Plastic Composite (WPC) Materials: Properties and Applications." [Author], [Year].
- "Brick Wall Preparation for Exterior Wall Panel Installation." [Author], [Year].