How to install PS wall panels?
Aug 19, 2025
Leave a message
Installing PS wall panels can transform the look of any room, adding a touch of elegance and style while also providing practical benefits. As a trusted PS wall panel supplier, I'm here to guide you through the process of installing these versatile panels. Whether you're a DIY enthusiast or a professional contractor, this guide will provide you with the essential steps and tips to ensure a successful installation.
Step 1: Prepare the Wall Surface
Before you begin installing PS wall panels, it's crucial to prepare the wall surface properly. Start by cleaning the wall to remove any dust, dirt, or debris. Use a mild detergent and water solution, and then rinse the wall thoroughly and allow it to dry completely.
Next, inspect the wall for any imperfections such as cracks, holes, or uneven surfaces. Fill any cracks or holes with a suitable filler and sand the area smooth once it's dry. If the wall is significantly uneven, you may need to install furring strips to create a flat surface for the panels.
Step 2: Measure and Plan
Accurate measurements are essential for a successful installation. Measure the height and width of the wall where you plan to install the PS wall panels. Use these measurements to calculate the number of panels you'll need, taking into account any cuts or wastage.
When planning the layout of the panels, consider the pattern and design you want to achieve. You can install the panels horizontally, vertically, or in a diagonal pattern for a more unique look. Mark the position of the first panel on the wall using a level and a pencil.
Step 3: Gather the Necessary Tools and Materials
To install PS wall panels, you'll need the following tools and materials:
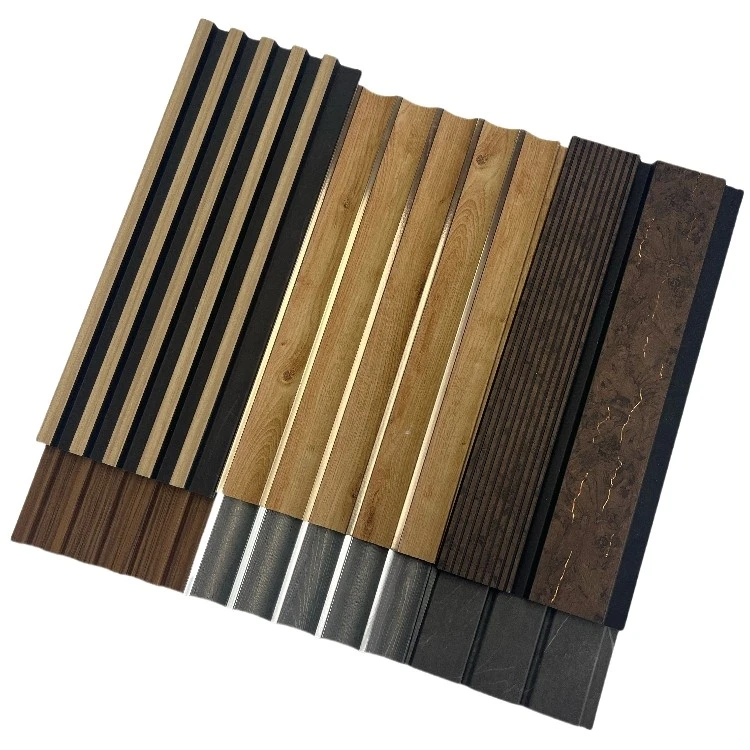
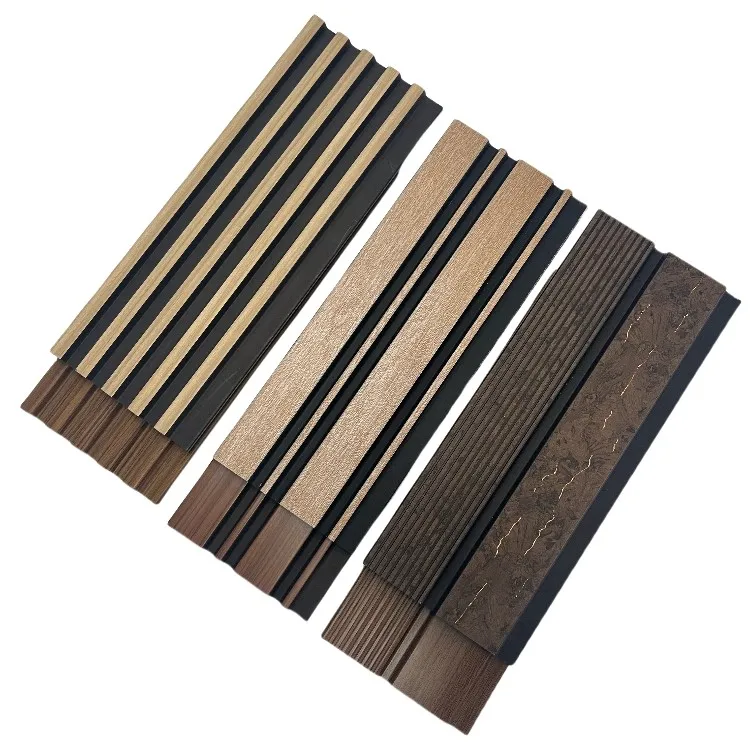
- PS wall panels: Choose the type of panels that best suit your needs and style preferences. You can explore our range of Waterproof PS Wall Panel, PS Solid 3D Wall Panel, and PS 3D Wall Panel.
- Adhesive: Select a high-quality adhesive suitable for PS wall panels. Make sure to follow the manufacturer's instructions for application.
- Measuring tape
- Level
- Utility knife
- Saw (if cutting panels is required)
- Caulk gun
- Screwdriver (if using screws for additional support)
- Safety equipment, such as gloves and goggles
Step 4: Apply the Adhesive
Apply a thin, even layer of adhesive to the back of the first PS wall panel using a notched trowel. Make sure to cover the entire surface of the panel, leaving a small gap around the edges.
Carefully place the panel on the wall, aligning it with the marked position. Press the panel firmly against the wall, using a level to ensure it's straight. Use a roller or a flat tool to apply even pressure across the panel, removing any air bubbles or wrinkles.
Step 5: Cut the Panels
If you need to cut the PS wall panels to fit around corners, windows, or other obstacles, use a utility knife or a saw. Measure and mark the cutting line on the panel, and then carefully cut along the line. Make sure to wear safety goggles and gloves when cutting the panels.
Step 6: Install the Remaining Panels
Continue installing the remaining PS wall panels, following the same process as the first panel. Make sure to align the panels properly and leave a small gap between each panel to allow for expansion and contraction.
If you're using screws for additional support, drill pilot holes through the panels and into the wall, and then insert the screws. Make sure not to overtighten the screws, as this can damage the panels.
Step 7: Finish the Edges
Once all the PS wall panels are installed, finish the edges using a suitable trim or molding. This will give the installation a professional and polished look. Apply a bead of caulk along the edges of the panels to seal any gaps and prevent moisture from getting behind the panels.
Step 8: Clean Up
After the installation is complete, clean up any excess adhesive or debris from the wall and the panels. Use a damp cloth to wipe down the panels, and then dry them with a clean towel.
Tips for a Successful Installation
- Read the manufacturer's instructions carefully before starting the installation.
- Work in a well-ventilated area to avoid inhaling fumes from the adhesive.
- Take your time and measure twice before cutting the panels to ensure accurate fits.
- If you're unsure about any step of the installation process, consult a professional.
Conclusion
Installing PS wall panels is a relatively straightforward process that can significantly enhance the appearance of your space. By following these steps and tips, you can achieve a professional-looking installation that will last for years to come.
As a leading PS wall panel supplier, we offer a wide range of high-quality panels to suit every style and budget. If you're interested in purchasing PS wall panels for your next project, we'd love to hear from you. Contact us today to discuss your requirements and start your procurement process. Our team of experts is ready to assist you with any questions you may have and provide you with the best solutions for your needs.
References
- Manufacturer's instructions for PS wall panels and adhesive
- DIY home improvement guides and resources