How to install pu stone wall panel on a plaster wall?
Aug 11, 2025
Leave a message
Installing PU stone wall panels on a plaster wall can transform the look of any space, adding a touch of elegance and a natural aesthetic. As a trusted supplier of high - quality PU stone wall panels, I'm excited to share a comprehensive guide on how to achieve a professional - looking installation.
Preparation
Before you start the installation process, proper preparation is key. Here are the steps you need to take:
1. Measure the Wall
First, carefully measure the length and height of the plaster wall where you plan to install the PU stone wall panels. This will help you determine the number of panels you need. Make sure to account for any windows, doors, or other openings. When measuring, use a tape measure and record the dimensions accurately.
2. Gather Tools and Materials
You'll need a variety of tools and materials for the installation. Here's a list:
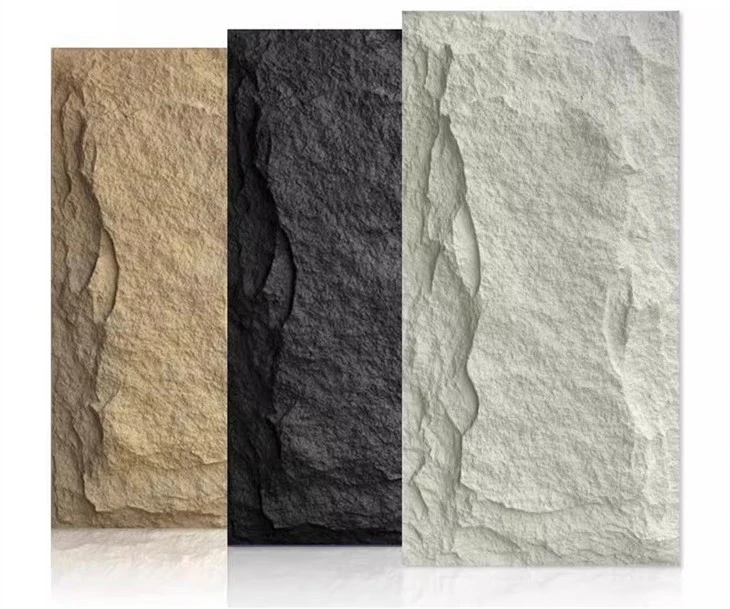
- PU Stone Wall Panels: As a supplier, I offer a wide range of options, including Polyurethane Faux Stone Panel, Polyurethane Rock Panel, and Polyurethane Stacked Stone Panel. Choose the style that best suits your design needs.
- Adhesive: Select a high - quality construction adhesive that is suitable for bonding PU panels to plaster. Check the manufacturer's instructions for compatibility.
- Caulk Gun: This is used to apply the adhesive evenly.
- Utility Knife: For cutting the panels to size if necessary.
- Level: To ensure that the panels are installed straight.
- Tape Measure: For accurate measurements during the installation.
- Safety Gear: Wear safety glasses and gloves to protect yourself during the installation process.
3. Prepare the Wall
The plaster wall should be clean, dry, and free of any dust, dirt, or loose particles. Use a mild detergent and water to clean the wall, then allow it to dry completely. If there are any cracks or holes in the plaster, fill them with a suitable filler and sand the surface smooth once it has dried.
Installation Process
Once you've completed the preparation, you're ready to start installing the PU stone wall panels.
1. Layout Planning
Begin by laying out the panels on the floor near the wall to plan the installation pattern. This will help you visualize how the panels will fit together and ensure a seamless look. You can choose a random pattern or a more structured layout, depending on your preference.
2. Apply Adhesive
Load the adhesive into the caulk gun. Apply a continuous bead of adhesive along the back of the first panel. Make sure to apply the adhesive evenly, covering most of the panel's surface. Avoid applying too much adhesive, as it can squeeze out and create a messy appearance.
3. Install the First Panel
Carefully place the panel with the adhesive side against the plaster wall at the starting point. Press the panel firmly against the wall, using a level to ensure it is straight. Hold the panel in place for a few seconds to allow the adhesive to bond.
4. Join the Panels
Once the first panel is in place, install the next panel adjacent to it. Press the two panels together firmly to create a tight joint. Use a utility knife to trim any excess adhesive that squeezes out between the panels.
5. Continue Installing
Repeat the process of applying adhesive, placing the panels, and joining them until you have covered the entire wall. Work your way up the wall row by row, using the level frequently to ensure that each panel is straight.
6. Cut Panels as Needed
If you need to cut a panel to fit around an opening or at the end of a row, measure the required size and mark it on the panel using a pencil. Use a utility knife to make the cut. Score the panel multiple times along the marked line, then snap it along the scored line.
7. Finishing Touches
After all the panels are installed, check for any gaps between the panels. If there are small gaps, you can fill them with a matching caulk to create a seamless look. Wipe away any excess adhesive or caulk with a damp cloth.
Tips for a Successful Installation
- Work in a Well - Ventilated Area: Since the adhesive may emit fumes, make sure the area is well - ventilated during the installation process.
- Take Your Time: Rushing the installation can lead to mistakes. Take your time to ensure that each panel is installed correctly.
- Test the Adhesive: Before starting the full installation, test the adhesive on a small area of the wall and a panel to ensure that it bonds properly.
- Follow the Manufacturer's Instructions: Always follow the manufacturer's instructions for the adhesive and the PU stone wall panels.
Maintenance
Once the PU stone wall panels are installed, they are relatively low - maintenance. You can clean the panels with a mild detergent and water. Avoid using abrasive cleaners, as they can damage the surface of the panels.
Conclusion
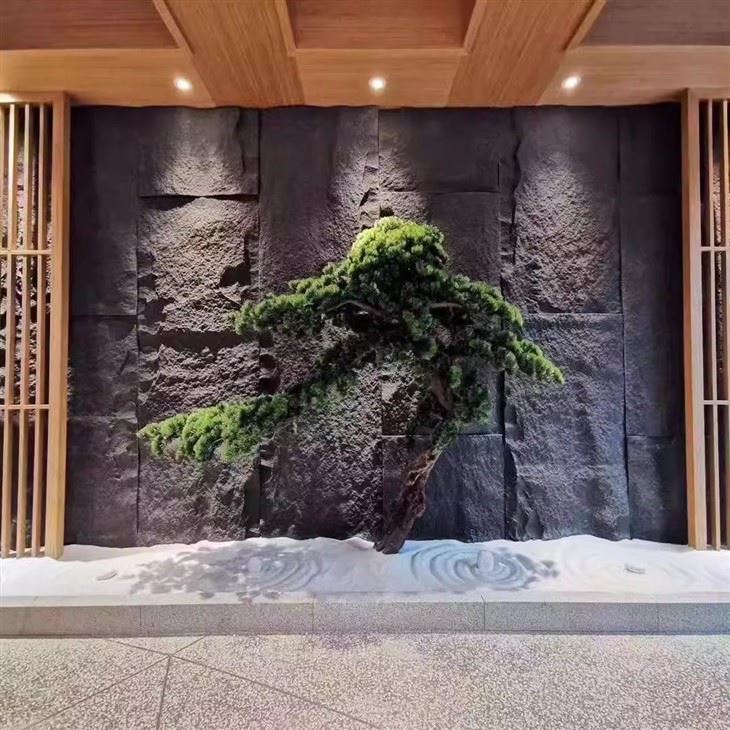
Installing PU stone wall panels on a plaster wall is a rewarding project that can enhance the beauty of your space. By following these steps and tips, you can achieve a professional - looking installation. As a supplier of high - quality PU stone wall panels, I'm committed to providing you with the best products and support. If you're interested in purchasing our Polyurethane Faux Stone Panel, Polyurethane Rock Panel, or Polyurethane Stacked Stone Panel, please feel free to contact us for more information and to start a purchase negotiation. We look forward to helping you transform your space with our stunning PU stone wall panels.
References
- Construction adhesive manufacturer's instructions.
- PU stone wall panel product specifications.