

How to install pu stone wall panel on a straw wall?
Jul 04, 2025
Leave a message
Installing PU stone wall panels on a straw wall can be a great way to enhance the aesthetic appeal and durability of your space. As a supplier of high - quality PU stone wall panels, I'm here to guide you through the process step by step.
Why Choose PU Stone Wall Panels for Straw Walls
PU stone wall panels offer several advantages when it comes to straw walls. First of all, they are lightweight. Straw walls are not as structurally strong as traditional masonry walls, and the lightweight nature of Polyurethane Faux Stone Siding ensures that the straw wall can easily support the panels without any additional reinforcement in most cases.
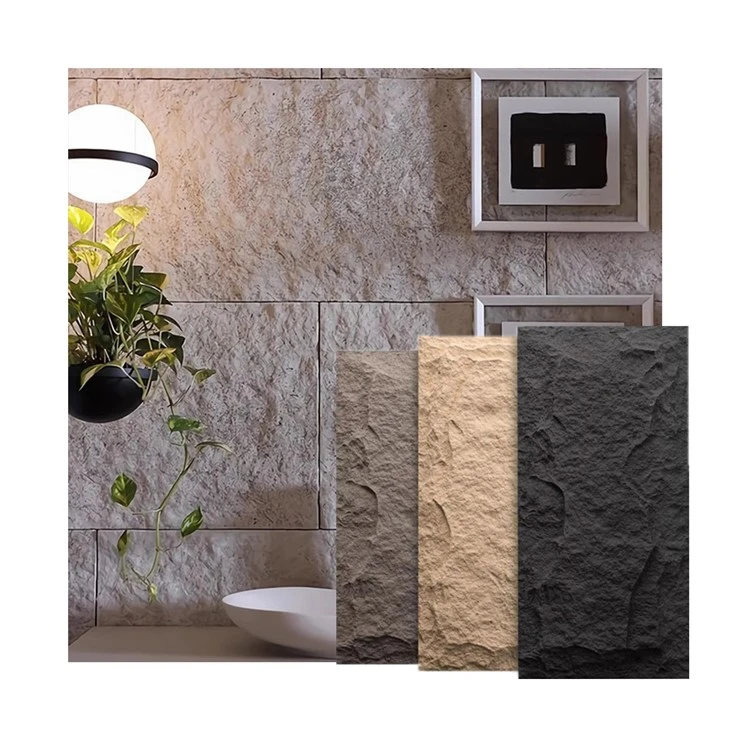
Secondly, PU stone wall panels are highly customizable. You can choose from a wide range of textures, colors, and styles, such as PU Culture Stone Wall Panel and Polyurethane Stacked Stone Panel, to match the overall design theme of your project. They can mimic the look of natural stone, giving your straw wall a high - end and rustic appearance.
In addition, these panels are weather - resistant and easy to clean. This is especially important for straw walls, which may be more vulnerable to moisture and dirt. The PU material protects the straw wall underneath and maintains its integrity over time.
Pre - installation Preparations
1. Measure the Wall
Before you start the installation, you need to accurately measure the surface area of the straw wall. Measure the height and width of the wall in feet or meters. Multiply these two measurements to get the total square footage. This will help you determine how many PU stone wall panels you need to purchase. Make sure to add an extra 5 - 10% to account for any cutting waste or mistakes during the installation process.
2. Prepare the Tools
Gather all the necessary tools for the installation. You will need a measuring tape, a utility knife, a level, a caulking gun, a silicone adhesive suitable for bonding PU to straw, and a putty knife. Having all the tools ready before you start will make the installation process smoother.
3. Clean the Straw Wall
Clean the surface of the straw wall thoroughly. Remove any loose straw, dirt, or debris. A clean surface ensures better adhesion between the panel and the wall. You can use a soft brush or a vacuum cleaner to clean the wall.
Installation Process
1. Layout Planning
Start by laying out the PU stone wall panels on the floor near the straw wall. This will help you visualize how the panels will fit together and plan the pattern. You can choose a random pattern for a more natural look or a uniform pattern for a more modern and organized appearance.
2. Apply Adhesive
Using a caulking gun, apply a bead of silicone adhesive on the back of the first PU stone wall panel. Make sure to apply the adhesive evenly, covering about 70 - 80% of the panel's surface. Focus on the edges and corners to ensure a strong bond.
3. Position the Panel
Carefully place the panel on the straw wall at the starting point. Use a level to make sure the panel is straight and level. Press the panel firmly against the wall to ensure good contact with the adhesive. Hold it in place for a few minutes to allow the adhesive to start bonding.
4. Cut the Panels
If you need to cut a panel to fit a specific area, such as around a window or a corner, use a utility knife. Score the panel along the cutting line multiple times until it is deep enough. Then, break the panel along the scored line. Make sure to wear safety goggles when cutting the panels to protect your eyes from any flying debris.

5. Continue Installation
Repeat the process of applying adhesive, positioning, and cutting the panels until the entire straw wall is covered. When installing subsequent panels, make sure to align them properly with the adjacent panels. You can use a putty knife to smooth out any excess adhesive that squeezes out between the panels.
6. Fill the Joints
After all the panels are installed, use a matching caulking material to fill the joints between the panels. This will give the wall a more seamless and finished look. Smooth the caulking with a putty knife to make it flush with the surface of the panels.
Post - installation Care
Once the installation is complete, allow the adhesive to cure fully according to the manufacturer's instructions. This usually takes 24 - 48 hours. During this time, avoid touching or putting any pressure on the panels.
After the adhesive has cured, clean the surface of the PU stone wall panels with a mild detergent and a soft cloth. This will remove any fingerprints, dirt, or excess adhesive that may be on the surface.
Maintenance Tips
To keep your PU stone wall panels on the straw wall looking great for years to come, here are some maintenance tips:
- Regularly inspect the panels for any signs of damage or loose joints. If you notice any issues, repair them immediately to prevent further damage.
- Clean the panels periodically with a soft brush and mild detergent. Avoid using abrasive cleaners or tools, as they can scratch the surface of the panels.
- In case of severe weather conditions, such as heavy rain or snow, check the wall for any water accumulation. Make sure the drainage around the wall is working properly to prevent water from seeping behind the panels.
Contact for Purchase and Consultation
If you are interested in our high - quality PU stone wall panels for your straw wall project, or if you have any questions about the installation process, feel free to contact us. Our team of experts is ready to assist you with product selection, quantity calculation, and any other concerns you may have. We can provide you with detailed product information, samples, and competitive pricing.
References
- "Building with Straw Bales: A Comprehensive Guide", by David Bainbridge
- Manufacturer's instructions for PU stone wall panels
- Industry standards for wall panel installation on non - traditional surfaces