How to install PVC ceiling boards on a sloped ceiling?
Aug 28, 2025
Leave a message
Hey there! If you're looking to spruce up a sloped ceiling in your home or office, PVC ceiling boards are an excellent choice. As a supplier of top - notch PVC ceiling boards, I've seen firsthand how these boards can transform any space. In this blog, I'll walk you through the step - by - step process of installing PVC ceiling boards on a sloped ceiling.
Why Choose PVC Ceiling Boards?
Before we dive into the installation process, let's talk about why PVC ceiling boards are a great option for sloped ceilings. First off, they're lightweight. This makes them easy to handle, especially when you're working on an angle. Unlike some heavier traditional ceiling materials, you won't have to worry about excessive weight pulling down on the structure.
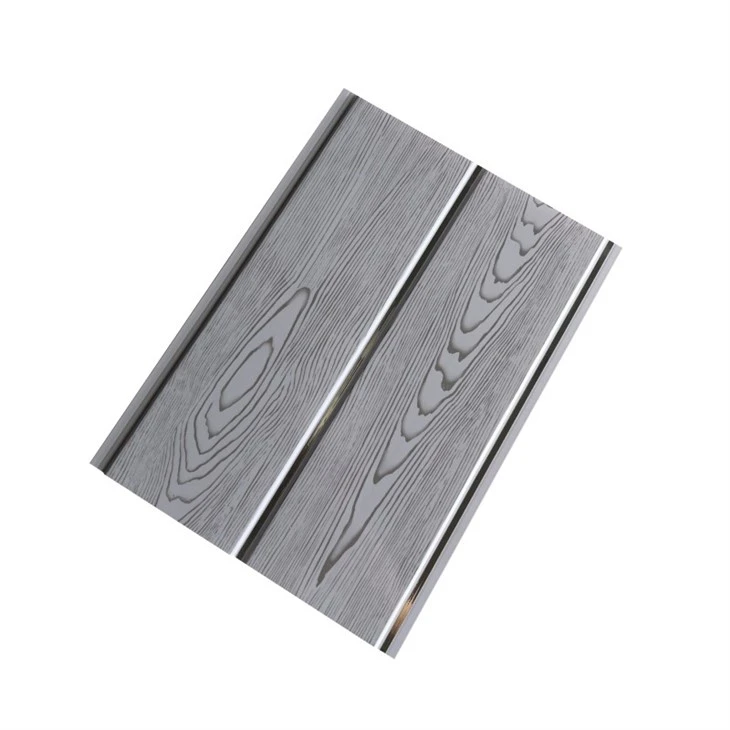
PVC ceiling boards are also highly durable. They're resistant to moisture, which is a huge plus if your sloped ceiling is in an area prone to humidity, like a bathroom or a basement. And the best part? They come in a wide variety of styles, from the Ceiling Board PVC that offers a classic look to the Glossy PVC Ceiling Panel for a more modern and shiny finish.
Tools and Materials You'll Need
To get started with the installation, you'll need a few essential tools and materials. Here's a quick list:
-
Tools:
- Measuring tape: You'll need this to accurately measure the length and width of your sloped ceiling.
- Saw: A fine - toothed saw will help you cut the PVC ceiling boards to the right size.
- Drill: You'll use this to make holes for screws and attach the boards to the ceiling.
- Level: To ensure that your ceiling is straight and even.
- Staple gun or adhesive: Depending on your preference, you can use a staple gun to secure the boards or an appropriate adhesive.
-
Materials:
- PVC ceiling boards: Make sure to choose the right type and quantity based on the size of your ceiling.
- Screws or staples: If you're using a drill, get the right size of screws. For a staple gun, use the appropriate staples.
- Furring strips: These are wooden strips that you'll attach to the ceiling to provide a flat surface for the PVC boards.
Step 1: Measure the Ceiling
The first step is to measure your sloped ceiling accurately. Start by measuring the length and width at several points along the slope. This is important because sloped ceilings can vary in size, and you need to account for these differences when cutting the PVC boards. Write down all your measurements and double - check them to avoid any mistakes.
Step 2: Install the Furring Strips
Furring strips are crucial for installing PVC ceiling boards on a sloped ceiling. They create a flat and even surface for the boards to be attached to. First, cut the furring strips to the appropriate length. Then, use a drill to attach them to the ceiling. Make sure they're level and spaced evenly. A good rule of thumb is to space them about 16 inches apart.
Step 3: Cut the PVC Ceiling Boards
Now it's time to cut the PVC ceiling boards. Using your measurements, mark the boards with a pencil. Then, use a saw to carefully cut the boards to size. Remember to wear safety goggles and gloves when cutting the boards to protect yourself from any sharp edges.
Step 4: Start Installing the Boards
Once you've cut the boards, it's time to start installing them. You can start at one end of the ceiling and work your way across. There are two common methods for attaching the boards: using screws or an adhesive.
If you're using screws, drill holes in the furring strips and then attach the PVC boards with the screws. Make sure the screws are tight but not so tight that they crack the boards. If you're using an adhesive, apply it to the back of the board and then press it firmly against the furring strips.
Step 5: Join the Boards
As you install the boards, you'll need to join them together. Most PVC ceiling boards come with a tongue - and - groove system. Simply align the tongue of one board with the groove of the next board and press them together. This creates a seamless look and helps to keep the boards in place.
Step 6: Trim the Edges
After you've installed all the boards, you'll need to trim the edges to fit the shape of the ceiling. Use a saw to carefully trim any excess material. This will give your ceiling a clean and professional look.
Step 7: Add Finishing Touches
Once the boards are installed and trimmed, you can add some finishing touches. You can use PVC corner trims to cover the edges and give your ceiling a more polished look. These trims are easy to install and come in a variety of colors to match your ceiling boards.

Tips for a Successful Installation
- Work with a partner: Installing PVC ceiling boards on a sloped ceiling can be a bit tricky, so it's a good idea to have someone to help you. They can hold the boards in place while you attach them.
- Take your time: Don't rush the installation process. Make sure each step is done correctly to ensure a high - quality result.
- Check for levelness: Use a level frequently to make sure the boards are straight and even. This will make your ceiling look much better in the end.
Conclusion
Installing PVC ceiling boards on a sloped ceiling might seem like a daunting task, but with the right tools, materials, and a bit of patience, you can do it yourself. As a supplier of PVC Ceiling Cladding and other PVC ceiling products, I can attest to the quality and versatility of these boards.
If you're interested in purchasing PVC ceiling boards for your project, feel free to reach out to discuss your requirements. We're here to help you choose the right products and ensure a successful installation.
References
- DIY Home Improvement Guides
- PVC Ceiling Board Manufacturer Manuals