

How to install PVC ceiling cladding around light fixtures?
Jan 08, 2026
Leave a message
Hey there, folks! If you're looking to spruce up your ceiling and add a touch of style and functionality, PVC ceiling cladding is a great option. And today, I'm gonna walk you through the process of installing PVC ceiling cladding around light fixtures. As a PVC ceiling cladding supplier, I've seen firsthand how this material can transform a space, and I'm excited to share my knowledge with you.
Why Choose PVC Ceiling Cladding?
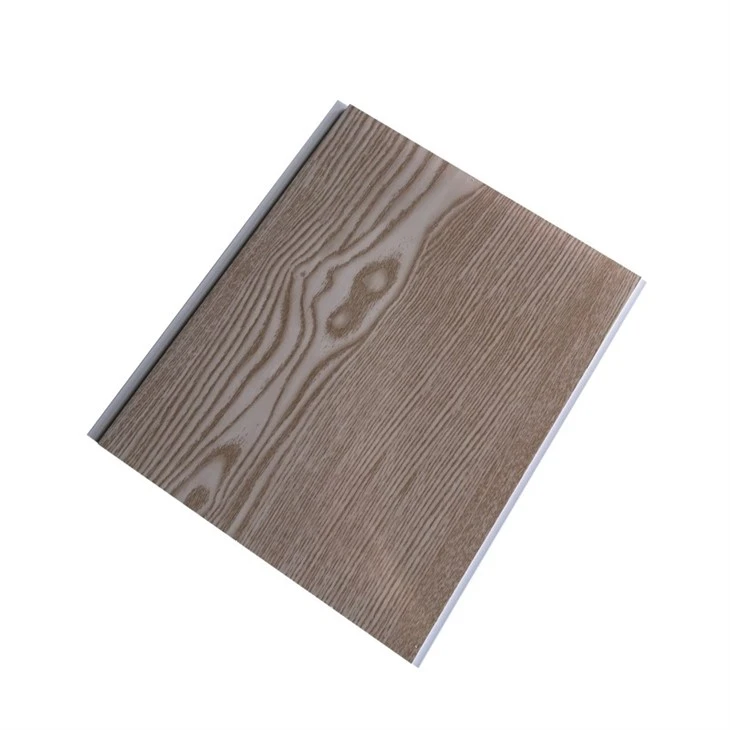
Before we dive into the installation process, let's talk a bit about why PVC ceiling cladding is such a popular choice. First off, it's incredibly versatile. Whether you're looking for a sleek and modern look for your bathroom or a more traditional aesthetic for your living room, PVC ceiling cladding comes in a wide range of styles, colors, and finishes to suit any taste.
It's also highly durable and easy to maintain. Unlike traditional ceiling materials, PVC ceiling cladding is resistant to moisture, mold, and mildew, making it perfect for humid environments like bathrooms and kitchens. And when it comes to cleaning, all you need is a damp cloth and a mild detergent to keep it looking fresh and new.
Another great thing about PVC ceiling cladding is that it's relatively easy to install. With the right tools and a little bit of know-how, you can tackle this project yourself and save some money on installation costs.
Tools and Materials You'll Need
Before you get started, it's important to gather all the tools and materials you'll need for the job. Here's a list of what you'll need:
- PVC ceiling cladding panels
- Measuring tape
- Utility knife
- Jigsaw
- Screwdriver
- Drill
- Screws
- Adhesive
- Caulk
- Safety goggles
- Gloves
Step-by-Step Installation Guide
Now that you have all your tools and materials ready, it's time to get started with the installation process. Here's a step-by-step guide to help you install PVC ceiling cladding around light fixtures:
Step 1: Measure and Plan
The first step is to measure the area where you'll be installing the PVC ceiling cladding. Use a measuring tape to measure the length and width of the ceiling, as well as the location and size of any light fixtures. This will help you determine how many panels you'll need and where to cut them to fit around the fixtures.
It's also a good idea to plan out the layout of the panels before you start cutting. This will help you ensure that the panels fit together properly and that the seams are evenly spaced.
Step 2: Prepare the Ceiling
Once you have your measurements and layout planned out, it's time to prepare the ceiling for installation. Start by cleaning the ceiling surface to remove any dirt, dust, or debris. This will help the adhesive bond better to the ceiling and ensure a secure installation.
If the ceiling is uneven or has any bumps or holes, you may need to fill them in with spackle or joint compound and sand them smooth before installing the PVC ceiling cladding.
Step 3: Cut the Panels
Now it's time to cut the PVC ceiling cladding panels to fit around the light fixtures. Use a measuring tape to mark the location of the fixtures on the panels, and then use a utility knife or jigsaw to cut out the holes. Be sure to wear safety goggles and gloves to protect yourself from any sharp edges.
When cutting the panels, it's important to make precise cuts to ensure a snug fit around the fixtures. You may need to make a few test cuts on scrap pieces of panel before cutting the actual panels to get the hang of it.
Step 4: Install the Panels
Once you have the panels cut to fit, it's time to start installing them. Begin by applying adhesive to the back of the first panel using a trowel or caulking gun. Be sure to apply the adhesive evenly and cover the entire surface of the panel.
Next, press the panel firmly against the ceiling and align it with the layout you planned out earlier. Use a level to ensure that the panel is straight and level, and then secure it to the ceiling using screws or nails.
Continue installing the panels one by one, using adhesive and screws or nails to secure them to the ceiling. Be sure to leave a small gap between each panel to allow for expansion and contraction.

Step 5: Install the Trim
Once all the panels are installed, it's time to install the trim. Trim is used to cover the edges of the panels and give the ceiling a finished look. There are several types of trim available for PVC ceiling cladding, including corner trim, edge trim, and ceiling molding.
To install the trim, start by measuring and cutting it to fit the length of the panel edges. Then, apply adhesive to the back of the trim and press it firmly against the panel edges. Use a level to ensure that the trim is straight and level, and then secure it to the panel edges using screws or nails.
Step 6: Seal the Seams
After the trim is installed, it's important to seal the seams between the panels to prevent moisture and air from leaking through. Use a caulk gun to apply a bead of caulk along the seams between the panels, and then smooth it out using a putty knife or your finger.
Be sure to choose a caulk that is specifically designed for use with PVC ceiling cladding, as this will ensure a good seal and prevent the caulk from cracking or peeling over time.
Step 7: Install the Light Fixtures
Once the PVC ceiling cladding is installed and the seams are sealed, it's time to install the light fixtures. Follow the manufacturer's instructions for installing the fixtures, and be sure to turn off the power to the circuit before you start working.
If you're installing a recessed light fixture, you may need to cut a hole in the PVC ceiling cladding to accommodate the fixture. Use a jigsaw to cut the hole, and then install the fixture according to the manufacturer's instructions.
Tips and Tricks
Here are a few tips and tricks to help you install PVC ceiling cladding around light fixtures like a pro:
- Use a sharp utility knife or jigsaw to make clean, precise cuts.
- Measure twice, cut once. Double-check your measurements before you start cutting the panels to avoid mistakes.
- Use a level to ensure that the panels and trim are straight and level.
- Apply adhesive evenly to the back of the panels to ensure a secure installation.
- Leave a small gap between each panel to allow for expansion and contraction.
- Seal the seams between the panels with caulk to prevent moisture and air from leaking through.
- Follow the manufacturer's instructions for installing the light fixtures, and be sure to turn off the power to the circuit before you start working.
Conclusion
Installing PVC ceiling cladding around light fixtures is a great way to add style and functionality to your ceiling. With the right tools and a little bit of know-how, you can tackle this project yourself and save some money on installation costs.
If you're interested in purchasing PVC ceiling cladding for your next project, be sure to check out our selection of Cheap PVC Ceiling Panel Outdoor and PVC Bathroom Ceiling Panel. We offer a wide range of styles, colors, and finishes to suit any taste, and our prices are unbeatable.
If you have any questions or need help with your installation, please don't hesitate to contact us. We're here to help you every step of the way.
References
- "PVC Ceiling Cladding Installation Guide." DIY Network.
- "How to Install PVC Ceiling Panels." This Old House.
- "Installing PVC Ceiling Cladding: A Step-by-Step Guide." Home Improvement Forum.