

How to install PVC ceiling panels?
Nov 07, 2025
Leave a message
Installing PVC ceiling panels is a practical and cost - effective way to enhance the aesthetics and functionality of your space. As a PVC ceiling panel supplier, I've witnessed firsthand the transformative power of these panels in various settings, from residential homes to commercial establishments. In this blog post, I'll guide you through the step - by - step process of installing PVC ceiling panels, sharing tips and insights along the way.
Step 1: Preparation
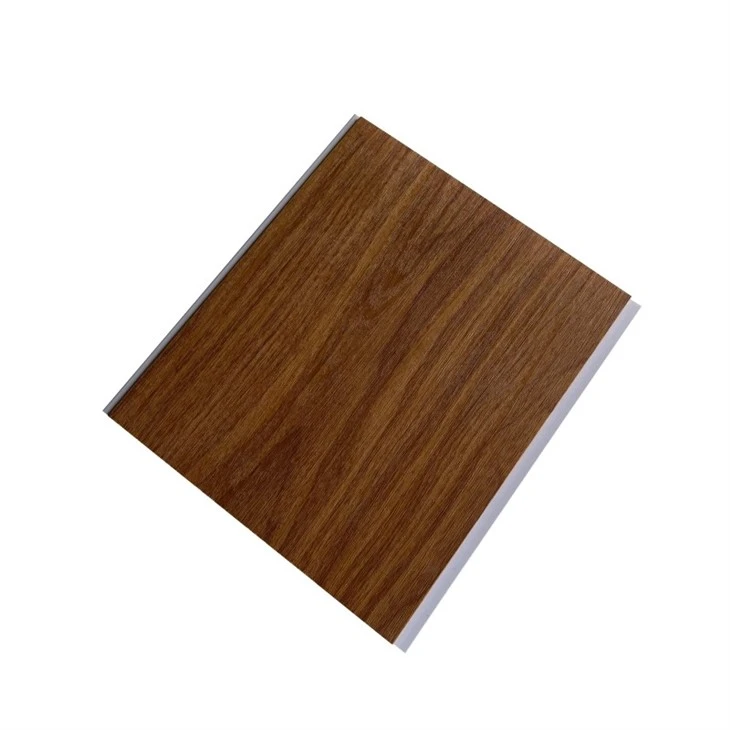
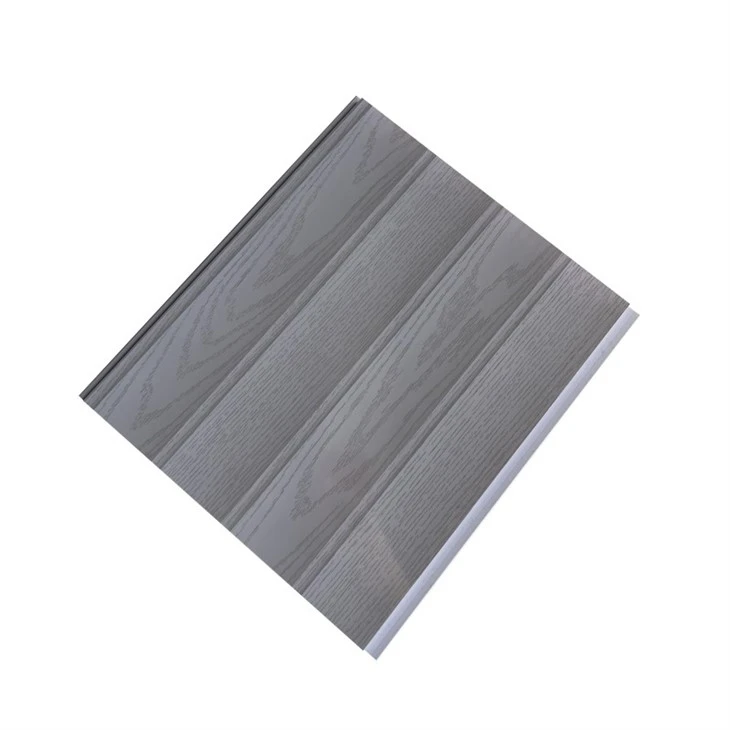
Before you start the installation process, it's crucial to gather all the necessary tools and materials. You'll need PVC ceiling panels, which come in a variety of styles and colors. For instance, you can explore our Lamina Cielo Raso PVC collection, which offers sleek and modern designs. Other materials include a measuring tape, a saw (either a hand saw or a power saw depending on your preference and the thickness of the panels), a drill, screws, a level, and a ladder.
Measure the area where you plan to install the ceiling panels accurately. This will help you determine the number of panels you need to purchase. It's always a good idea to buy a few extra panels to account for any cutting errors or future repairs.
Step 2: Install the Furring Strips
Furring strips are essential for providing a stable base for the PVC ceiling panels. They are typically made of wood or metal and are installed parallel to the joists in your ceiling. Use a level to ensure that the furring strips are perfectly horizontal. Mark the positions of the furring strips on the ceiling joists, and then drill holes into the joists. Secure the furring strips to the joists using screws. The spacing between the furring strips will depend on the size and weight of the PVC ceiling panels. As a general rule, space the furring strips about 16 to 24 inches apart.
Step 3: Cut the PVC Ceiling Panels
Once the furring strips are in place, it's time to cut the PVC ceiling panels to the appropriate size. Measure the distance between the furring strips and mark the panels accordingly. Use a saw to make clean, straight cuts. If you're using a power saw, make sure to wear safety goggles and follow all safety precautions.
When cutting the panels, pay attention to the direction of the grain or pattern on the panels. You want to ensure that the panels are installed in a way that the pattern flows smoothly across the ceiling. If you're unsure how to cut the panels, refer to the manufacturer's instructions or consult with our experts. We also offer Cheap PVC Wood Ceiling options that are easy to cut and install.
Step 4: Install the First Panel
Start by installing the first PVC ceiling panel at one corner of the ceiling. Align the panel with the furring strips and use a drill to attach it to the furring strips using screws. Make sure the panel is flush against the furring strips and that it is level. You may need to use a rubber mallet to gently tap the panel into place if it's not sitting perfectly.
Step 5: Install the Remaining Panels
Continue installing the remaining panels one by one, starting from the first panel. Most PVC ceiling panels have a tongue - and - groove system, which makes it easy to connect the panels together. Simply slide the tongue of one panel into the groove of the adjacent panel and press firmly to secure the connection. Use screws to attach each panel to the furring strips at regular intervals.
As you install the panels, check for any gaps or unevenness. If you notice any gaps, you can use a PVC filler or caulk to fill them in. Make sure to smooth out the filler or caulk for a seamless finish.
Step 6: Trim the Edges
Once all the panels are installed, it's time to trim the edges of the ceiling. Use a saw to cut the panels to fit around any fixtures, such as lights or vents. You can also use PVC trim pieces to cover the edges of the ceiling for a more professional look. Our Ceiling Board PVC products come with a variety of trim options to choose from.
Step 7: Finishing Touches
After trimming the edges, clean the PVC ceiling panels to remove any dust or debris. You can use a mild soap and water solution to clean the panels. Avoid using abrasive cleaners or tools that could scratch the surface of the panels.
Inspect the ceiling to ensure that all the panels are securely installed and that there are no visible gaps or defects. If you're satisfied with the installation, you can enjoy your new PVC ceiling.
Tips for a Successful Installation
- Work in a well - ventilated area: PVC ceiling panels can release some fumes during the installation process, especially when cutting. Make sure there is adequate ventilation in the room to avoid inhaling any harmful fumes.
- Take your time: Installing PVC ceiling panels requires patience and precision. Don't rush the process, and take the time to measure and cut the panels accurately.
- Seek professional help if needed: If you're not confident in your DIY skills or if the installation seems too complex, don't hesitate to hire a professional installer.
Contact Us for Your PVC Ceiling Panel Needs
If you're interested in purchasing PVC ceiling panels for your project, we're here to help. As a leading PVC ceiling panel supplier, we offer a wide range of high - quality products at competitive prices. Whether you're looking for a modern, sleek design or a more traditional look, we have the perfect PVC ceiling panels for you.
Contact us today to discuss your requirements, get a quote, or to learn more about our products. Our team of experts is ready to assist you every step of the way, from product selection to installation advice.
References
- "PVC Ceiling Installation Guide" - General industry guide on PVC ceiling installation best practices.
- Manufacturer's instructions for specific PVC ceiling panel products.