How to install PVC marble wall panels on a wooden wall?
Jun 05, 2025
Leave a message
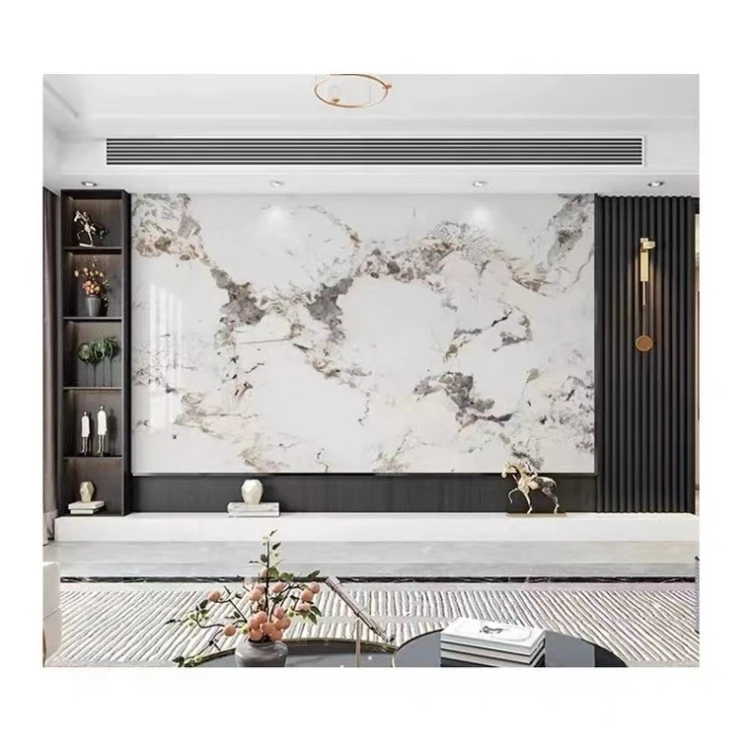
Hey there! I'm a supplier of PVC marble wall panels, and I'm super excited to share with you how to install these amazing panels on a wooden wall. PVC marble wall panels are a great choice for adding a touch of elegance and style to any room. They're durable, easy to clean, and come in a wide range of designs and colors. So, let's get started!
What You'll Need
Before you start the installation process, you'll need to gather a few tools and materials. Here's a list of what you'll need:
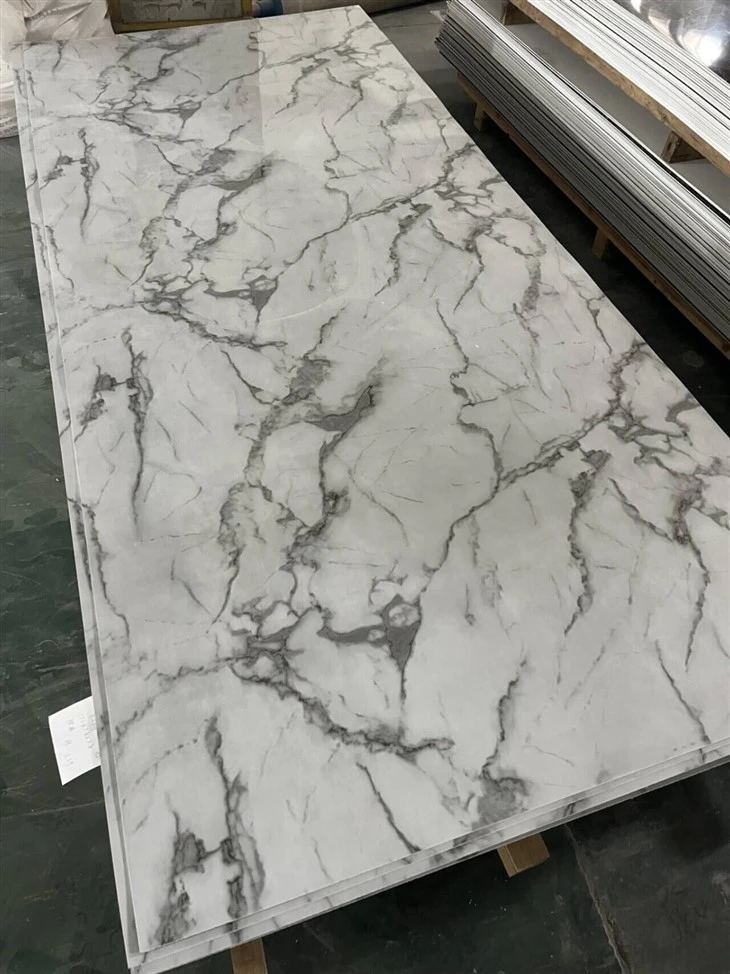
- PVC marble wall panels: Of course, you'll need the panels themselves. Make sure you choose the right size and design for your project. You can check out our Marble UV Board, Marbolite PVC Sheet, and UV PVC Marble Sheet for some great options.
- Measuring tape: To measure the wall and cut the panels to the right size.
- Utility knife: For cutting the panels.
- Adhesive: A good quality adhesive is essential for attaching the panels to the wall. Make sure you choose an adhesive that is suitable for PVC and wood.
- Caulk gun: To apply the adhesive.
- Level: To make sure the panels are installed straight.
- Screwdriver or drill: If you need to secure the panels with screws.
- Safety glasses and gloves: To protect your eyes and hands.
Step 1: Prepare the Wall
The first step is to prepare the wooden wall for installation. Start by cleaning the wall thoroughly to remove any dirt, dust, or grease. You can use a mild detergent and a damp cloth to clean the wall. Once the wall is clean, let it dry completely.
Next, inspect the wall for any unevenness or damage. If the wall is not perfectly flat, you may need to sand it down or use a leveling compound to make it smooth. This will ensure that the panels fit properly and look great.
Step 2: Measure and Cut the Panels
Now it's time to measure the wall and cut the panels to the right size. Use a measuring tape to measure the height and width of the wall. Add a few extra inches to the measurements to allow for trimming.
Once you have the measurements, transfer them to the panels. Use a utility knife to cut the panels along the marked lines. Make sure you use a sharp blade and apply firm pressure to get a clean cut.
Step 3: Apply the Adhesive
Before you start applying the adhesive, make sure you read the instructions on the adhesive carefully. Different adhesives have different application methods and drying times, so it's important to follow the instructions to get the best results.
Using a caulk gun, apply a thin, even layer of adhesive to the back of the panel. Make sure you cover the entire surface of the panel, but don't apply too much adhesive as it can cause the panel to warp or bubble.
Step 4: Install the Panels
Once the adhesive is applied, carefully place the panel on the wall. Start at the bottom of the wall and work your way up. Use a level to make sure the panel is straight and level. Press the panel firmly against the wall to ensure good adhesion.
If you need to secure the panel with screws, use a screwdriver or drill to insert the screws through the pre-drilled holes in the panel and into the wall. Make sure you don't overtighten the screws as it can damage the panel.
Continue installing the panels one by one, making sure to align them properly and leave a small gap between each panel for expansion. You can use a spacer or a piece of cardboard to create the gap.
Step 5: Trim the Edges
Once all the panels are installed, it's time to trim the edges. Use a utility knife to trim any excess panel material along the edges of the wall. Make sure you use a sharp blade and apply firm pressure to get a clean cut.
Step 6: Seal the Joints
To make the installation look even more professional, you can seal the joints between the panels with caulk. Use a caulk gun to apply a thin, even bead of caulk along the joints. Smooth the caulk with a damp finger or a caulk smoothing tool to give it a neat finish.
Step 7: Clean Up
Once the installation is complete, clean up any excess adhesive or caulk from the panels and the wall. Use a damp cloth to wipe away the adhesive or caulk before it dries.
Tips and Tricks
- Plan your layout: Before you start cutting the panels, plan your layout carefully to make sure you use the panels efficiently and minimize waste.
- Work in a well-ventilated area: Adhesive and caulk can emit strong fumes, so it's important to work in a well-ventilated area to avoid inhaling the fumes.
- Take your time: Installing PVC marble wall panels takes time and patience. Don't rush the process, and make sure you do it right the first time.
- Use a backer board: If the wooden wall is not very strong or stable, you may want to use a backer board to provide additional support for the panels.
- Protect the panels: During the installation process, make sure you protect the panels from scratches and damage. You can use a drop cloth or a piece of cardboard to cover the panels.
Conclusion
Installing PVC marble wall panels on a wooden wall is a great way to add a touch of elegance and style to any room. With the right tools, materials, and a little bit of patience, you can install the panels yourself and save money on installation costs.
If you have any questions or need more information about PVC marble wall panels or the installation process, please don't hesitate to contact us. We're here to help you with all your PVC marble wall panel needs. Whether you're a homeowner looking to renovate your space or a contractor working on a project, we can provide you with high-quality panels and expert advice. So, get in touch with us today and let's start transforming your walls!
References
- Manufacturer's instructions for PVC marble wall panels and adhesive.
- DIY home improvement guides and tutorials.