How to install PVC ceiling panels in a low - ceiling room?
Aug 27, 2025
Leave a message
Hey there! If you've got a low - ceiling room and you're looking to spruce it up, installing PVC ceiling panels could be a game - changer. I'm a supplier of PVC ceiling panels, and I've seen firsthand how these panels can transform a dull, low - ceiling space into something fresh and inviting. In this blog, I'll walk you through the process of installing PVC ceiling panels in a low - ceiling room.
Why PVC Ceiling Panels for Low - Ceiling Rooms?
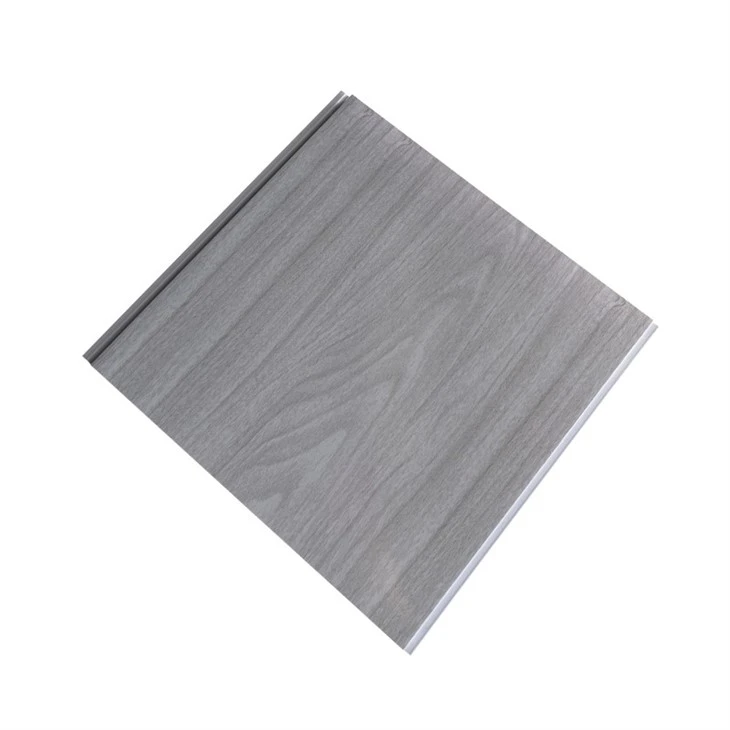
First off, let's talk about why PVC ceiling panels are a great choice for low - ceiling rooms. PVC panels are lightweight, which means they won't put extra stress on your ceiling structure. They're also easy to clean and maintain, and they come in a wide range of colors and designs. This gives you the flexibility to choose a style that suits your room's aesthetic.
Another big advantage is that PVC ceiling panels can create an illusion of a higher ceiling. You can choose light - colored panels or ones with vertical patterns to make the room look more spacious. Plus, they're cost - effective, especially when you check out our Cheap PVC Ceiling Sheet.

Preparing for Installation
Before you start installing the PVC ceiling panels, you need to do some prep work.
Measure the Room
The first step is to measure the length and width of your ceiling. This will help you determine how many panels you need. Make sure to measure accurately, as any mistakes here can lead to problems later on.
Gather Your Tools
You'll need a few tools for the installation. These include a measuring tape, a saw (either a hand saw or a power saw), a drill, screws, a level, and a pencil. Having the right tools on hand will make the installation process much smoother.
Clean the Ceiling
Remove any dirt, dust, or debris from the ceiling surface. A clean ceiling will ensure that the panels adhere properly. You can use a damp cloth or a mild cleaning solution to clean the ceiling.
Installing the Furring Strips
Furring strips are wooden or metal strips that you attach to the ceiling to provide a flat surface for the PVC panels.
Mark the Layout
Use a pencil and a level to mark the layout of the furring strips on the ceiling. The strips should be spaced about 16 inches apart. This spacing will provide enough support for the panels.
Attach the Furring Strips
Use a drill to attach the furring strips to the ceiling. Make sure the strips are level and secure. You can use screws or nails to attach the strips, depending on the type of ceiling you have.
Cutting the PVC Ceiling Panels
Once the furring strips are in place, it's time to cut the PVC ceiling panels to fit.
Measure and Mark the Panels
Measure the length and width of the area where you want to install the panel. Use a pencil to mark the cutting lines on the panel.
Cut the Panels
Use a saw to cut the panels along the marked lines. Make sure to wear safety goggles and gloves when cutting the panels. If you're using a power saw, follow the manufacturer's instructions carefully.
Installing the PVC Ceiling Panels
Now comes the fun part - installing the panels!
Start at a Corner
Begin installing the panels at a corner of the room. Place the first panel against the furring strips and use a drill to attach it to the strips. Make sure the panel is level and flush with the wall.
Continue Installing the Panels
Continue installing the panels one by one, making sure to align them properly. You can use a tongue - and - groove system to connect the panels together. This will create a seamless look.
Cut Panels for Edges
When you reach the edges of the room, you may need to cut the panels to fit. Use a saw to make the necessary cuts.
Finishing Touches
Once all the panels are installed, you can add some finishing touches.
Trim the Edges
Use a trim piece to cover the edges of the panels. This will give the ceiling a professional look. You can choose a trim piece that matches the color of the panels.
Check for Gaps
Inspect the ceiling for any gaps between the panels. If you find any gaps, you can use caulk to fill them.
Tips for Low - Ceiling Rooms
When installing PVC ceiling panels in a low - ceiling room, there are a few extra tips to keep in mind.
Choose Light Colors
As I mentioned earlier, light - colored panels can make the room look more spacious. You can check out our Cheap Black PVC Ceiling for a modern and stylish look, or go for lighter shades like white or beige.
Use Vertical Patterns
Panels with vertical patterns can create an illusion of height. Look for panels with vertical lines or grooves to make the ceiling appear higher.
Keep It Simple
In a low - ceiling room, it's best to keep the design simple. Avoid using too many patterns or complex designs, as this can make the room feel even smaller.
Maintenance
PVC ceiling panels are easy to maintain. You can clean them with a damp cloth and a mild cleaning solution. Avoid using abrasive cleaners, as these can damage the panels.
Contact Us for Your PVC Ceiling Panel Needs
If you're interested in purchasing PVC ceiling panels for your low - ceiling room, or if you have any questions about the installation process, don't hesitate to reach out. We're here to help you every step of the way. Whether you need Cheap PVC Cladding Bathroom Ceiling or other types of PVC ceiling panels, we've got you covered.
References
- "Home Improvement Handbook" - A general guide on home improvement projects.
- Manufacturer's instructions for PVC ceiling panels.